For the love of all that is holy, polish your shoes!
I get it. It’s a pain in the butt. It can be messy. And maybe you’re just not good at it. That’s fine. I am going to help you by simplifying the process and making it routine for you.
First off, let me address the “why.” Having looked at over hundreds of photos of sailors either at sea or at shore installations the footwear most commonly seen are, as described in the Navy Uniform Regulations of 1941, “shoes, leather, black.” More specifically, these would be a black leather shoe with a leather sole and a hard rubber heel. It does not specify if these are in an oxford style or a derby style, and probably because it was up to the sailor or officer to choose. So you know the difference: an oxford pattern has a closed lacing system in which the quarters (the portions the eyelets are punched into) are sewn under the vamp, which is the section between the toe and the laces. The derby pattern has these quarters sewn on top of the vamp, and is the style more prevalent in issued service shoes to the general enlisted. Officers, who were required to purchase their own tailored uniforms, might splurge to buy oxfords to class up their look, but this is certainly not expected by the junior sailors and any such case would be an anomaly.
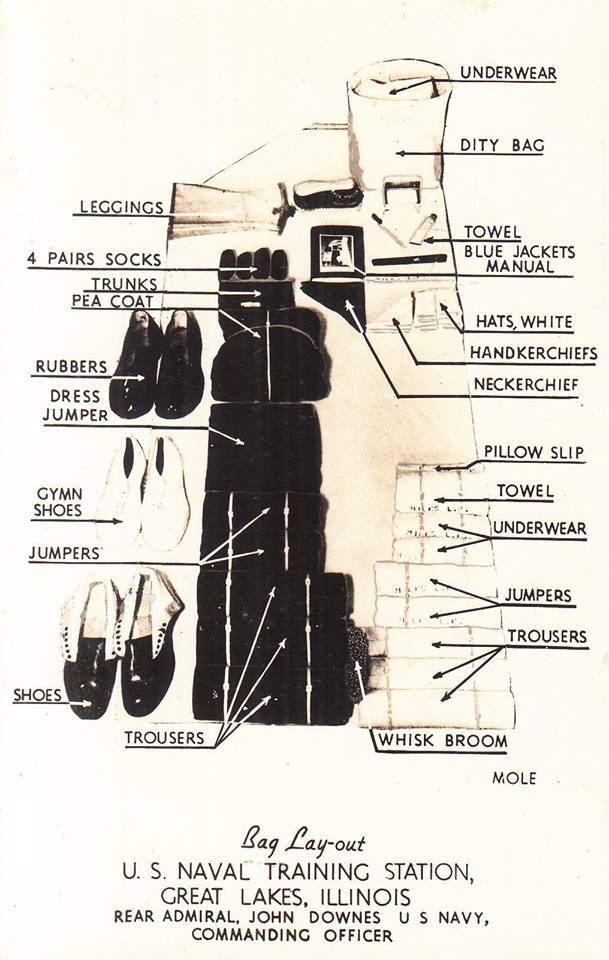
Sailors were initially issued with two pairs of black shoes, with the second pair being a high-ankle work shoe (referred to “shoes, high, black” in the regs). However, the Navy simplified things by just issuing two of the low-ankle type. Thus, it’s that style of shoe is predominantly seen throughout the war.
In recruit training, sailors quickly learned the importance of polishing. Not only did it present a clean and professional appearance, it provided some water resistance and kept the leather supple. This lesson was not lost amongst fleet sailors and even just rubbing on a quick coat without going for a glossy finish helped protect them from the elements and increased the length of wear.
With all undress and dress uniforms, you will find that shoes are polished and usually with a nice, high gloss finish. The only time I saw an exception to polishing would be those wearing working uniforms, aka the dungarees, and specifically in jobs where constant work in filthy conditions made any attempt at maintaining a polish futile. Duties like working on a refueling barge, small service craft where one would be constantly jumping into the surf and sand each day, and heavy cleaning work. But, generally speaking, a majority of the sailors maintained their shoes to at least keep them black. Those assigned to smaller and more forward commands really needed to upkeep their uniforms because replacements could be sporadic. Further, some sailors came from poor upbringings and leather shoes were somewhat of a luxury. I’ve heard a couple of accounts of folks from that era cherishing their shoes because they grew up with none. Besides, nobody wants to be constantly breaking in a new pair of shoes because they carelessly trashed the previous pair.
Alright, so that the “why.” As if you needed any real convincing because you want give that sharp, professional image when in uniform, right? Right. So, let’s get to it.
You’ll need the right tools. At the minimum, you’ll need:
- Shoe brush (usually horsehair)
- Black polish (your choice, but I just use Kiwi)
- An applicator brush (usually it’s horsehair. I prefer to not use sponges)
- Cotton buffing cloth (an old 100% cotton t-shirt works great).
- Some water.
In my kit, I have an old wood shoe shine box. If you have the space for one, I recommend you getting one. You can keep everything you need in there. I prefer them to using the small nylon bags some companies sell. I also have an extra shoe brush. It’s softer than the bristle brush and works well for a quick buffing and cleaning.
The Process.
You can probably find a plethora of videos and blogs by polishing pros and leather aficionados that show you all sorts of techniques and life hacks to get your shoes polished to a high gloss or mirror shine. I think they’re great and definitely worth looking in to. Polishing is all about layers. The goal, since leather is porous, is to fill in those small holes and dips with many layers of polish until it becomes a smooth surface. If you try to goop polish on to shortcut that goal, it won’t work because the polish is too thick and uneven, and as you try to buff it the wax will get push around. The process I am going to describe is what I have been using during my service and it does the trick.
First step: Clean the shoes.
Unless your shoes have a lot of dirt and grime caked on, you can usually do this with the shoe brush. The stiffer bristles will brush off any dirt and debris. Be sure to use good, long movements to brush off the shoes. Take the brush free and clear of the shoes so you don’t just redeposit dirt back on to them elsewhere. You can also wipe them down with a slightly damp clean cloth. If you need to do that, make sure you wipe the shoes dry and maybe let them sit for a minute or two before proceeding on.
Unless you’re just doing a quick polish, remove the laces. You’ll need to get into the tongue of the shoe. Ensure the creases in there are clean of any dirt and lint.
Second step: Apply your wax.
Fill the shoes first with either paper or an actual shoe form. This will prevent the leather from bending and collapsing, which will prevent an event coat.
Everyone has their preference, and I am sure some polish is better than others. Some brands are better than others. I use Kiwi because that’s what I had most available on my ship and it’s affordable. It’s military grade leather, so while not the worst, it’s not the fanciest and thus doesn’t really command the high-end creams and wax. Just avoid the absolute cheapest stuff and you’ll be fine.
I typically see two techniques of wax application: melting and light layering.
Melting the wax makes it more fluid and thus allows it to seep into those pores and cracks we’re trying to fill. I like to use this technique when polishing shoes for the first time or when they’re trashed and am essentially redoing the polish on it. People generally light the wax in the tin with a match or lighter, allowing it to melt for a couple of seconds before snuffing out the fire with the lid. BUT, just know that it can cause a bit of smoke and to be careful when pulling that lid off after snuffing out the fire. I’ve seen folks also use a hairdryer on high heat as well as a heat gun to get it melted.
Once melted, apply with the applicator brush. Use small dabs as oppose to smearing a ton of it on there. After you get a coat, allow it to cool a little and begin smoothing and buffing with a cloth.
If you don’t want to mess with melting, you can use the light layering technique. This style also is good for touchup jobs on shoes that are in decent condition and just need to be spiffed up for inspection or a ceremony. Take a clean cotton cloth, apply a light layer of polish and lightly buff it onto the shoe. Take a bit of water and sprinkle a couple of drops on the shoe, then buff in a layer of wax. The water will help loosen up the wax and allow it to seep in. Essentially, this is the same effect using spit has. If you’re using this technique for an initial polishing, be patient and give it many layers.
Third step: Buffing.
Basically a follow-on step from the previous, especially if light layering, just take your cotton cloth and, with two fingers, gently buff the polish doing circles and multi-directional movements in order to smooth out the wax into the leather’s pores and cracks. Light pressure is suffice. If you over do it, you could just pull the wax out of those cracks and not achieve much for your effort. It make not look so hot on the first pass. Take another light layer (simply tapping the wax can be just enough) and do another pass. Eventually, you’ll start to see a little bit of shine.
At this point, I ease off on the points of shoe that have a lot of movement (the areas known as the vamp and throat) and focus more on the points that command a nice shine (the toes and the heelcaps). Since USN shoes are uncapped, I just pick a spot to blend into but don’t go so far into those high flexion points because they can tend to crack if you try to give the same high gloss polish there. For those areas, if they are nice and blackened with a little bit of a finish, I am happy. In fact, I am not much a stickler on the heelscaps, either, but some people strive to a mirror finish there, too.
Keep applying layer after layer with the same light circular movements, occasionally adding a sprinkle of water as you go. As it might have cooled, some might re-melt their wax. Just know that stuff is hot, so allow it to cool to a point where you can still dab it with a cloth and not burn your fingers. I don’t recommend using the applicator brush at this stage because it just applies too much polish and we’re going for light layers. Personally, I just use water (or spit if I don’t have water handy) from this point on.
How much shine you want is up to you. Historically speaking, I don’t see high gloss shines on shoes being worn with working uniforms; the assumption here is that they are wearing their second pair that they use only for work wear. But, I also just don’t see much high-gloss finished shoes in general, save for maybe that salty Chief who knows his way around wax and leather. A nice shine doesn’t have to also serve as a mirror.
Final step: Dressing.
The last thing you want to do is dress the edges of the soles and the heels. You can do that with either a shoe dressing product or you can take a very light coat of the wax and brush it on then wipe it off, which is my usual method.
And that is basically it! See? That wasn’t so difficult!
Now that you have a really good base layer of polish, it won’t take much to shine these babies up going forward. Sometimes, they’ll gleam simply by running the buffing brush or a cloth over it right before stepping out.
Scuffs and Damage:
Small scuffs and scrapes can sometimes be buffed out. Part of having a good layer of polish on your shoes can protect the actual leather from some scratches. One pair of shoes I own have a two inch scratch in them. I thought they were done for (as a dress uniform/inspection item) but managed to practically hide the scratch by doing a series of light layers. It took time, but I salvaged that pair for future use. Sometimes the gouges are too deep, and that’s when I recommend seeing a local cobbler. Side note: talk about a dying craft. Every cobbler I’ve ever sent shoes to were old and with no apprentices. I wonder if the trade will eventually die out with that generation. I certainly hope not, as a good cobbler can save you a lot of dollars and salvage great shoes from the dumpster. I digress…
When out and about in your nice and shiny kicks, get in the habit of carrying a handkerchief – preferably not white and in a more darker color. It will come in handy should your polished shoes need a quick buff up or to simply swipe off dirt and lint picked up from wherever you’ve been trekking. Just don’t hand it to your date who might need to wipe her nose.
Additional Notes:
Brown shoes associated with the World War II khaki uniforms should also be polished. However, they never seem to be as dark of a brown as you would see in, say, Army service shoes. I think a few light coats are fine and then compare with original photos. For dress white shoes worn by officers and chiefs, I would recommend cleaning the shoes with a saddle soap first. Follow the instructions and allow to dry before applying a white cream or polish.
I avoid using liquid polish. It can sometime look nice at first, but that layer almost always cracks over time. And, you’re not getting that natural protective aspect of the polish.
Polishing is a process often overlooked, especially in living history. And, with current service uniforms not having footwear requiring polish as well as many service members opting to wear dress shoes with synthetic uppers, the skill and tradition of polishing seems to be getting lost to time. I have never heard anyone compliment someone on how nice their corfram shoes are, but I have received many compliments on how well I’ve polished mine. I still wear the pair of service shoes issued to me in boot camp back in 1993, and I do only the bare minimum polishing maintenance. Show a little care and pride and shine up those shoes!